Garry Tan, Y Combinator's CEO, recently open-sourced Gstack—a collection of 25 Claude Code skills that transforms your AI assistant into a structured engineering team. The claim? One developer can ship 10,000 to 20,000 lines of production code per day.
Whether you're a solo developer or part of a team, here's how to set it up.
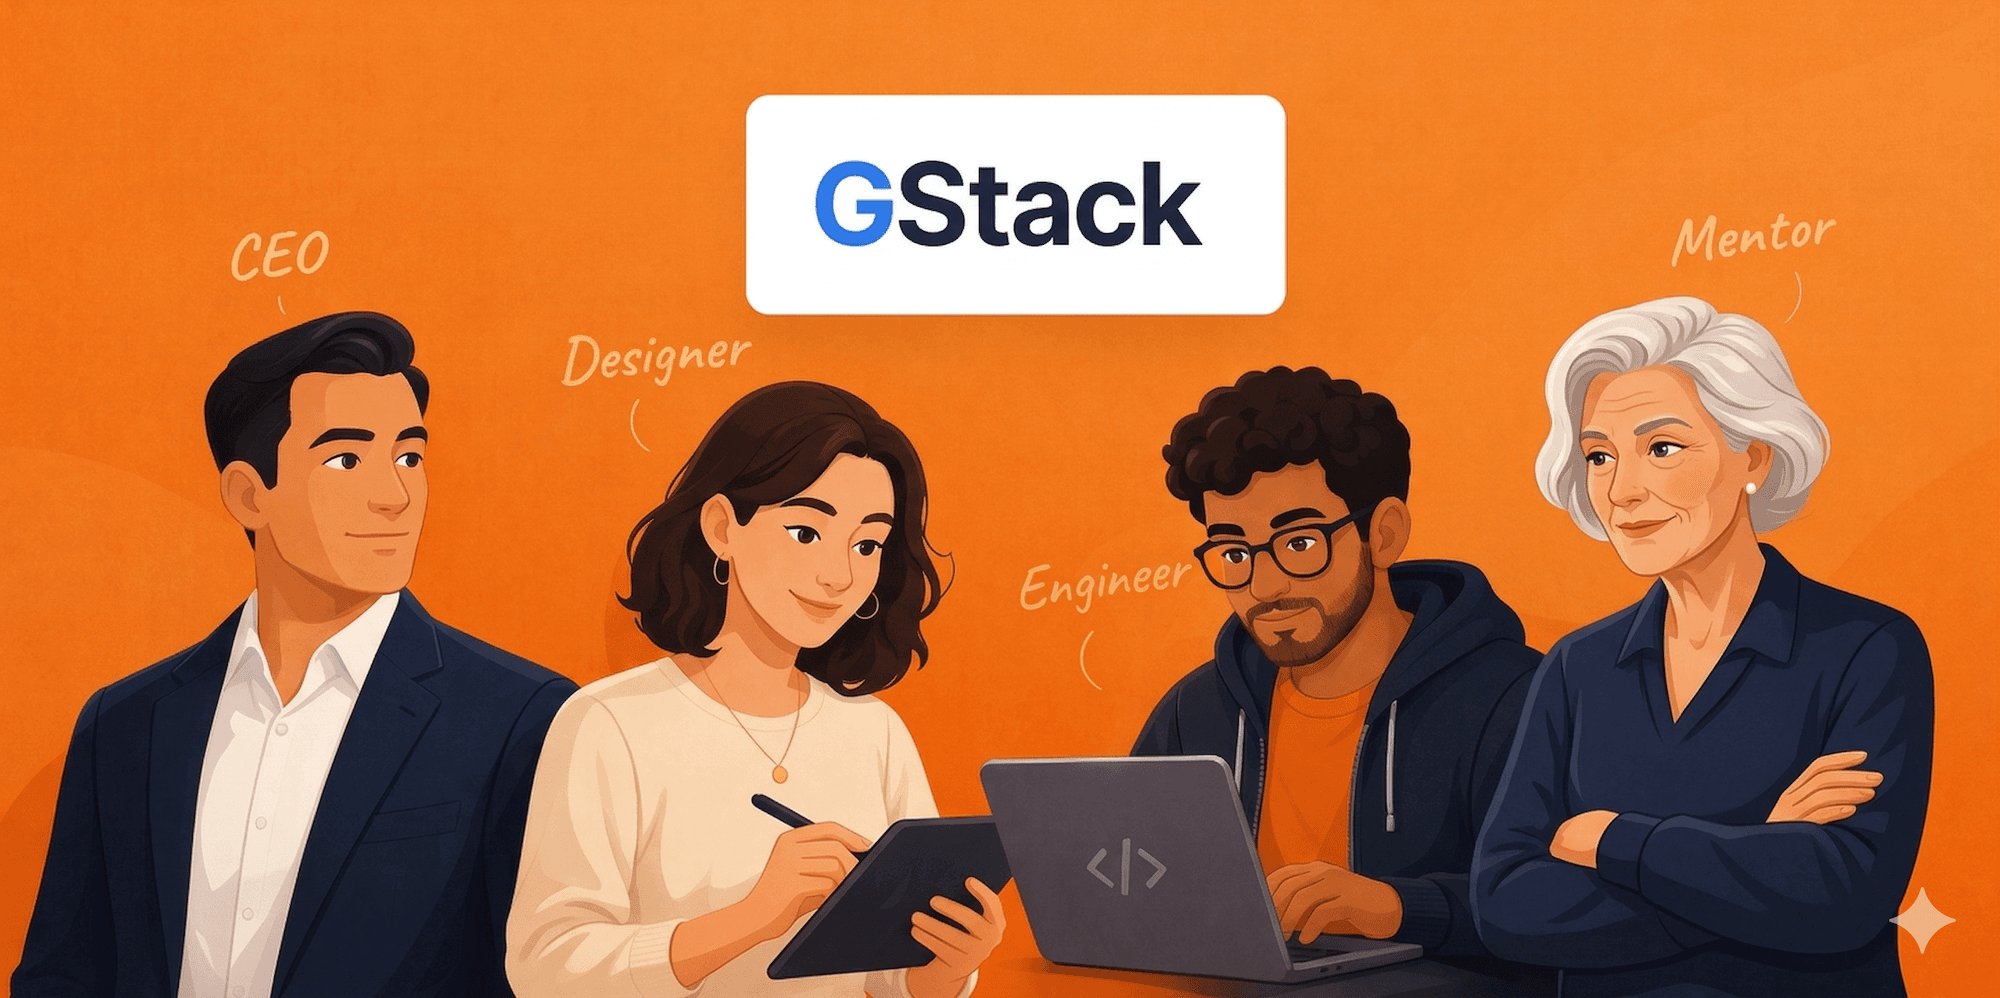
What is Gstack?
Gstack is an open-source "software factory" built on top of Claude Code. It provides specialized slash commands that handle the entire development lifecycle:
- Planning:
/office-hours,/plan-ceo-review,/plan-eng-review - Development:
/review,/investigate,/browse - Testing:
/qa,/benchmark - Deployment:
/ship,/land-and-deploy,/canary - Safety:
/careful,/freeze,/guard
The philosophy is simple: structure your AI interactions like you would structure a real engineering team—with planning phases, code reviews, QA, and deployment checks.
Part 1: Solo Developer Setup
If you're working alone with Claude Code, here's how to get Gstack running.
Prerequisites
- Claude Code installed and configured
- Git
Installation (30 seconds)
Open your terminal and paste this command:
1git clone https://github.com/garrytan/gstack.git ~/.claude/skills/gstack && cd ~/.claude/skills/gstack && ./setupThat's it. The setup script installs all 25 skills directly into your Claude Code skills directory.
Verify Installation
Open Claude Code and type:
1/reviewIf Gstack is installed correctly, Claude will recognize the command and ask about what you want to review.
Essential Commands for Solo Developers
Here are the commands you'll use most often:
/office-hours - Before You Start Coding
Use this when you have a vague idea. It helps reframe product ideas before writing any code.
1/office-hours I want to add user authentication to my app/plan-eng-review - Lock Down Architecture
Before implementing a feature, use this to get an engineering review of your approach:
1/plan-eng-review Review the authentication approach in PLAN.md/review - Code Review
The most important command. Run it before committing:
1/reviewThis performs a thorough code review and catches bugs before they hit production.
/qa - Real Browser Testing
Gstack can test your app in a real Chromium browser:
1/qa Test the login flow/ship - Prepare for Deployment
When you're ready to deploy:
1/shipThis runs tests, checks coverage, and creates a PR.
Part 2: Team Setup with TeamCopilot
Gstack works great for individuals, but what about teams? The challenge is:
- Shared configuration: Everyone needs the same AI setup
- Permissions: Not everyone should have access to every tool (You may not want to give access to code review skill to non engineers for example).
- Audit trails: You need to track what the AI did and who authorized it
- Approval workflows: Any changes to these skills should be first approved by the relevant team member.
This is where TeamCopilot comes in.
What is TeamCopilot?
TeamCopilot is a self-hosted, multi-user AI agent platform. Think of it as Claude Code for teams.
You can learn more about it on its website.
Setup TeamCopilot
Follow the getting started documentation.
Adding Gstack Skills to TeamCopilot
First, clone the Gstack repository:
1git clone https://github.com/garrytan/gstack.gitCopy it into your TeamCopilot workspace's skills directory:
1cp -r gstack <teamcopilot-workspace-dir>/.agents/skills/Then run the setup command:
1cd <teamcopilot-workspace-dir>/.agents/skills/gstack && ./setupApproving the new skills
-
Make sure you have the "Engineer" role, and if you don't, ask an Engineer to do the steps below.
-
Now visit the Browse skills section of the TeamCopilot dashboard, and you should see the new skills in Pending Approval state.

-
For each skill, click on the "Review & Approve" button and then approve them via the new page.
Setting Up Permissions
In the TeamCopilot web UI:
- Go to Browse Skills section
- Find the Gstack skills
- Click on the Manage Permissions button
- Select the list of people with whom you want to share the skill or select "Everyone" to share it with everyone.
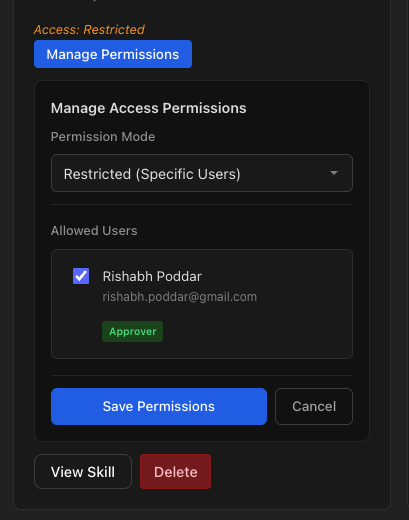
And now only those members who have access to the skills will be able to use them!
Resources:
Support the project
If this was useful, star TeamCopilot on GitHub.
TeamCopilot is a shared AI agent for teams with centralized context, permissions, and workflows.